Download and install Cyberduck for Windows Seven : Différence entre versions
| Ligne 59 : | Ligne 59 : | ||
| − | First click on the icon "Open Connection" from Cyberduck task bar. | + | First click on the icon (1) "Open Connection" from Cyberduck task bar. |
| − | [[Image:Capturebarredetacheredwater.jpg|none| | + | [[Image:Capturebarredetacheredwater.jpg|none|500px|]] |
Version du 26 février 2013 à 16:06
Sommaire
Download and install Cyberduck_for_Windows_Seven
Download the latest version
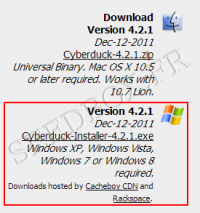
Go to this address:
Then, download Cyberduck 4.2.1 version for Windows.
Install Cyberduck
After clicking the link, the download starts .
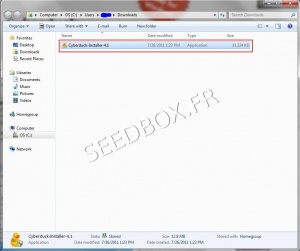
Once the program is downloaded on your computer, you must install it now.
Click on the folder representing your download :
For all instalation stages that follow, we advise you not modify the default choices.
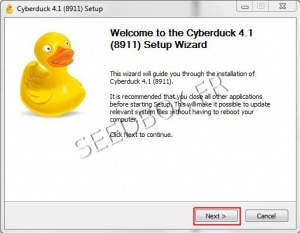
To start installing the software, click on Next
Then, at this stage, you can choose to install "Bonjour" for Windows
Once you made your choice, click Next.
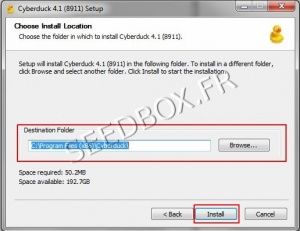
Now select the installation directory of the program.
Now select the installation directory for your software.
Now click on "Install".
Your program is now ready to be used.
Configure Cyberduck
At first launch and only if you have Filezilla, you will be prompted to import your favorites.
To do this, click on "Import Bookmarks", otherwise click "Cancel"
Configure a new FTP connection with Cyberduck
First click on the icon (1) "Open Connection" from Cyberduck task bar.


