How to set up XBMC with your Seedbox : Différence entre versions
| Ligne 2 : | Ligne 2 : | ||
| − | To download XBMC for your system, please follow this link : | + | *To download XBMC for your system, please follow this link : |
http://xbmc.org/download/ | http://xbmc.org/download/ | ||
| − | Choose the one that suits | + | *Choose the one that suits to your system. |
''We advice to not modify options during the set up.'' | ''We advice to not modify options during the set up.'' | ||
Version du 10 septembre 2013 à 13:11
Download XBMC
- To download XBMC for your system, please follow this link :
- Choose the one that suits to your system.
We advice to not modify options during the set up.
Configure XBMC
Once it has been installed on your computer, you will need to configure it.
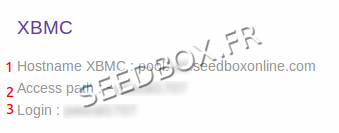
You will need your login details.
These are available in "additional services" then "WebDAV".
In XBMC, scroll the horizontal menu to access the "System" tab
Then select "seetings"
To change the default language for XBMC, click on "seetings" then "Appearance" and finally "International"
Select the language you want, also change the location and close the menu.
Return to the "System" tab.
Now, click on File, then make a double-click on "Add Source".
Select "Browse", then "Add a network path."
In Protocol, click until "WebDAV server (https)" will be display.
Then, select "Server Adress",
Enter here your server adress
It must be entered under this form : poolxxx.seedboxonline.com
xxx must be replaced with your own server number.
Don't add any http or https before
Click entry to validate
Then, in "Target Path", enter your login seedbox preceded by a ~
For example : ~seedbox1234
In "Port", enter the port 443
In "User", enter your Seedbox login.(The one you have choosen on the order form)
Then finally, in "Password", enter your seedbox password. (The one you have choosen on the order form)
Confirm the settings by clicking "OK".
Your server as a new source is displayed.
You can rename your connection.
You also need to download and apply the Windows patch for WebDAV .
This one is available in your manager, in "Additional Services", then "WebDAV"

